Walnut Dyeing
I love walnut dyeing time!
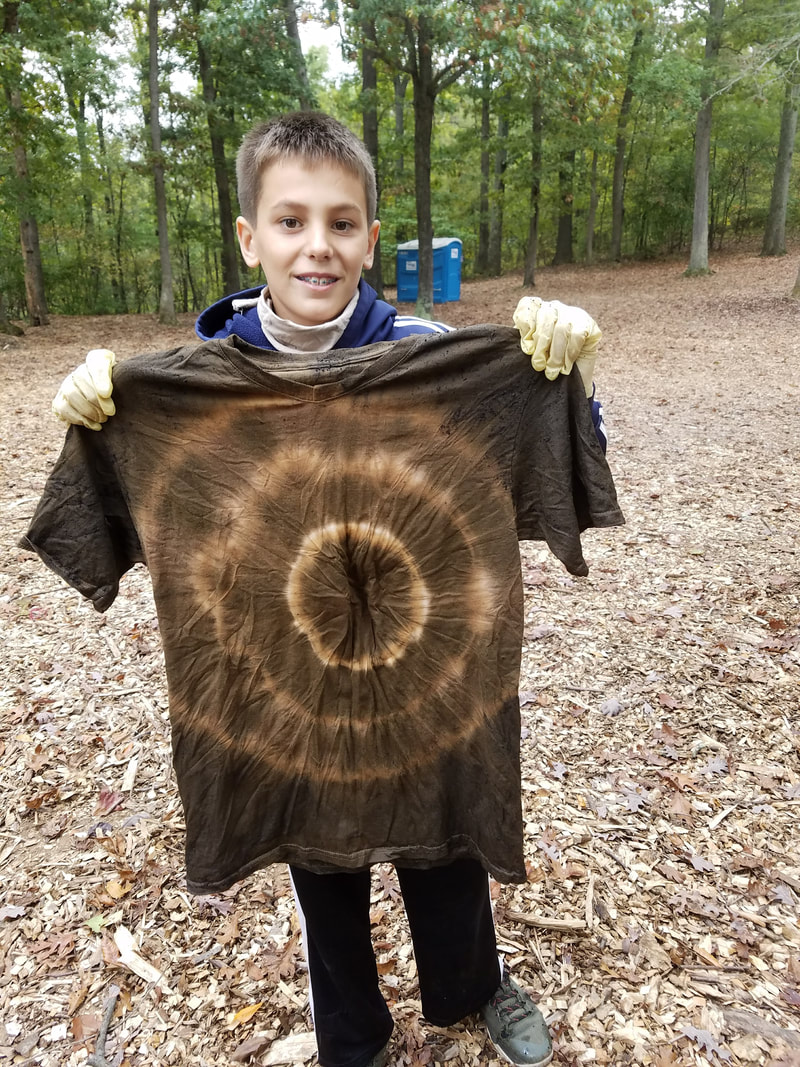
It is a great activity that students of most ages can do and create a great shirt for wearing in or out of class.
Things you'll need:
It is a great activity that students of most ages can do and create a great shirt for wearing in or out of class.
Things you'll need:
- One or more pots large enough to contain the walnut husk, water and clothing.
- An abundance of black walnuts that still have a relatively fresh green husk (not too dry or rotten, but should be easily removable after crushing with a rock)
- Twine or other suitable tying material
- Non-latex rubber gloves to protect hands from dye (for all students that will be dehusking nuts)
- A suitable place for a sizeable fire that can boil the dye pot for an hour+
TYING TECHNIQUES
The tighter the shirts are tied, the better the contrast and more distinct the pattern will be. Too loose and the pattern may be hard to discern.
The clove hitch can work well, although I mostly use the simple and effective surgeon's knot for this purpose, but pretty much any old knot can work as long as you pull it very tight!
Here are a few patterns to consider - but you can surely find more if you look around online.
The clove hitch can work well, although I mostly use the simple and effective surgeon's knot for this purpose, but pretty much any old knot can work as long as you pull it very tight!
Here are a few patterns to consider - but you can surely find more if you look around online.
Spiral pattern
|
|
|
The finished spiral video is probably not the one shown being tied, but a shirt that was not tied very tightly. The one I demonstrated on came out mostly white, with some striking dark spirals. The advantage of the one tied loosely is that it is better camouflage though.
Striped pattern
Ring pattern
Sorry about the quality of this video - but the technique is quite simple...
PREPARING THE HUSKS
|
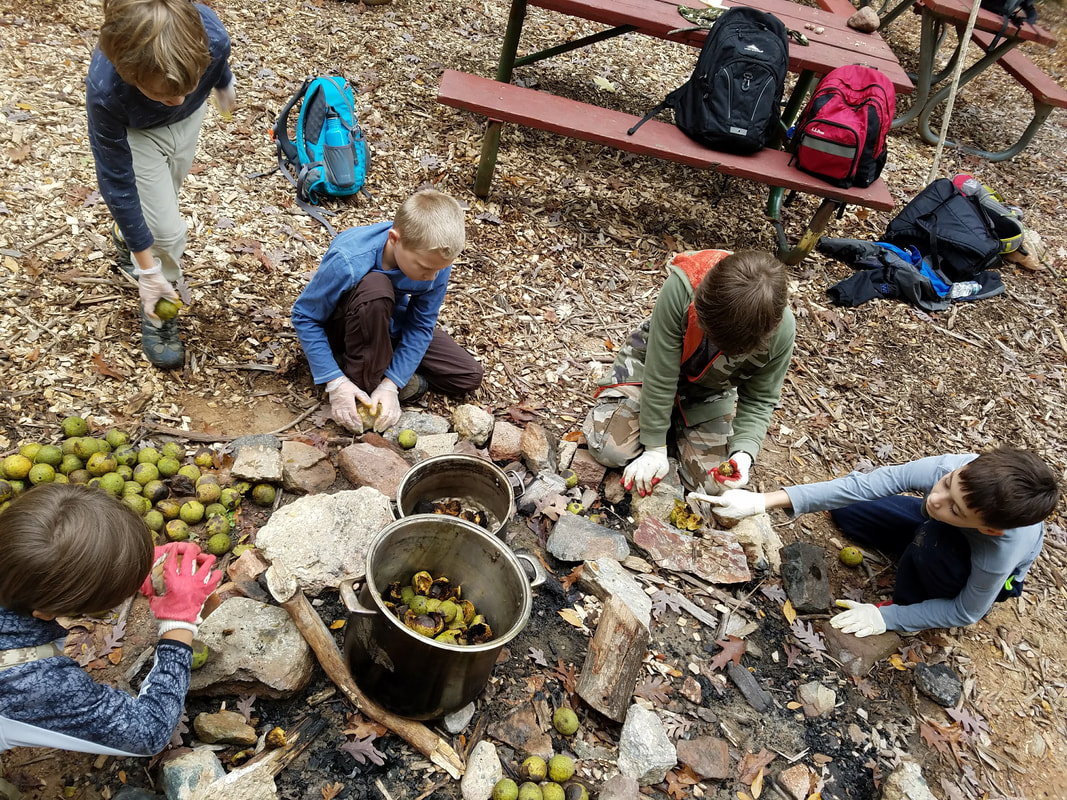
After filling the pots with walnuts, we brought them to our fire pit where we put on some gloves and used the rocks to crush the husk, which was put into the big pot.
The husk juice stains brown, and can discolor skin for many days. Don't forget the water! You'll need a few gallons to boil up the dye. |
THE DYEING PROCESS
|
|
A big pot of boiling water can be a major hazard, so be very careful!
If there is no grill available to secure the pot above the fire, you can also place the pot directly on the wood if it is arranged properly. This needs to be done very carefully so that the pot won't spill and scald anyone. The fire structure consists of a bottom layer of 4 cylindrical logs laying next to each other, and then 4 more logs, perpendicular to and above that bottom layer. The logs should be of similar wood and size so that they burn at a similar rate. In the videos on the left one of the logs burned up and the pot shifted, but without spilling, and we were able to fix it. |


