Firing pot in one hour!
Building on the experience below, more recently I fired pots in about an hour. Based on the sum of my experience so far:
Pre-fire your pots in an oven at 170 for a couple hours, then at 200 for a couple more. Some pots may require longer prefiring, but most will be fine at this level of attention.
Then wrap your pots in multiple layers of aluminum foil for improved firing results. Depending on how many layers of foil and how long until you fire, you may not need to further seal the pots from (humid) air contact.
Place your foil-wrapped pots such that they are (ideally) exposed to heat from all sides, and gradually build up the heat around them, as evenly as you can.
The clay I've been firing lately seems to do fine if I pull it out of a hot fire and let it cool pretty quickly. Although many pros recommend letting pots cool slowly.
Beware:
If you nest pots inside of other pots, you willl need a bigger, hotter fire to cook the nested pots.
After your fire burns a while, clear away the coals and put your pots on the hot, cooked ground. If you put them on wet earth next to the fire, it may act as a heat sink even if the fire itself is quite hot. This can prevent full firing of your pot's bottom.
Firing pots in an hour - video sequence:
Firing your pots - in 2.5 hours - case study
This tutorial details a recent pot-firing at a homeschool program. The photo time-stamps are provided to help you gauge how long everything took.
Students were instructed to:
"Bring in pots, preferably pre-fired, and sealed in plastic. Pre-fire by drying in an oven at 150 - 175, for a few hours, then sealing in multiple layers of plastic, as air-tight as possible. Please take notes on how long, and how hot, you pre-fired your pot."
All of the students pre-fired their pots at 150 to 170 F for 2 hours, and this seemed to make a big difference, relative to previous firings I've done.
|
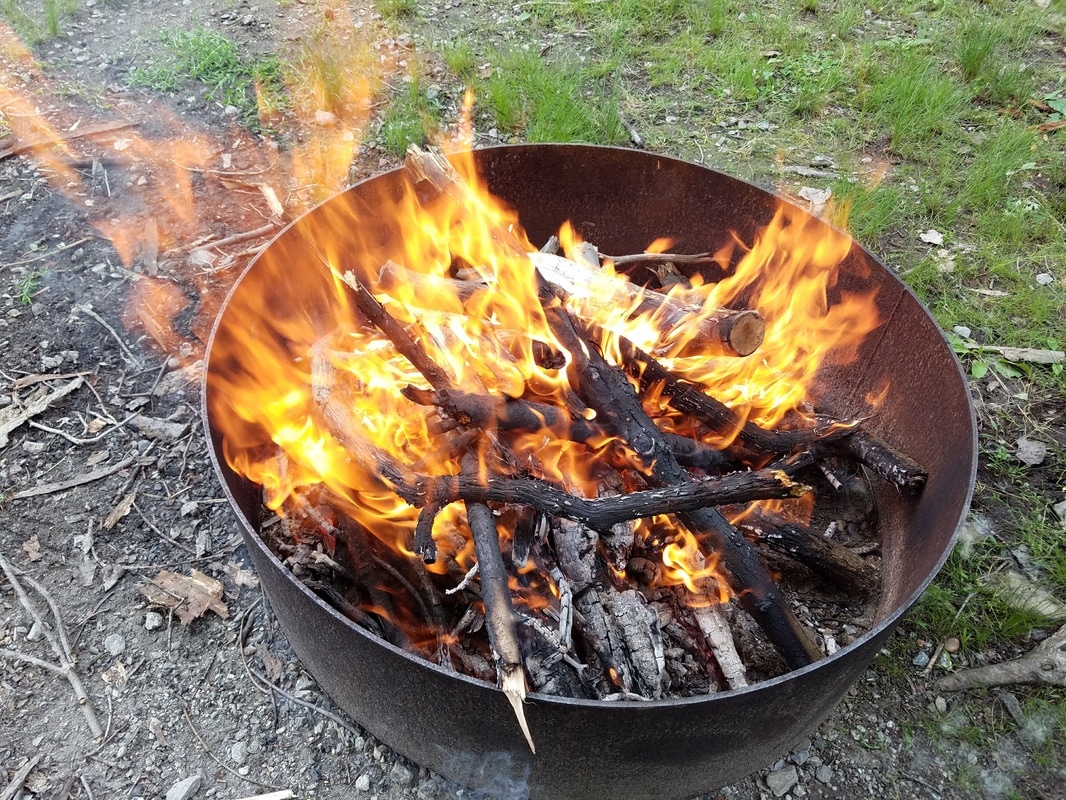
At about 2 pm we made a medium sized fire to build up some coals, to dry and heat up the wet earth and fire pit.
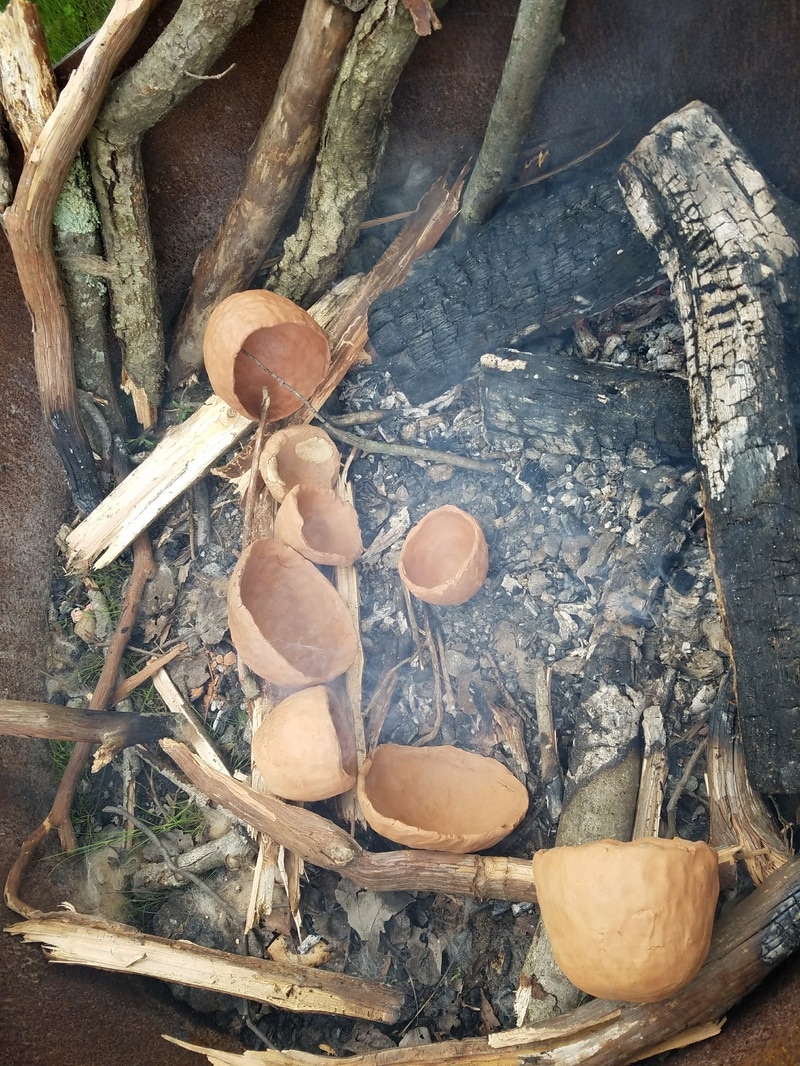
At about 2:30? the fire was moved to one side, and the pottery arranged so as to expose them to moderate heat. They were placed on logs so that the bottoms were not in contact with hot coals. 2:52 Photo of pots being re-prefired The pots are getting to the point of being about too hot to handle with bear fingers. |
|
|
3:11 pm
This photo shows the pots already quite hot. Note how close the hot coals are. The pots are nested inside each other when possible. The inner pots tend to fire the best. Ideally, the pots are gradually surrounded by heat evenly from all sides. |
|
|
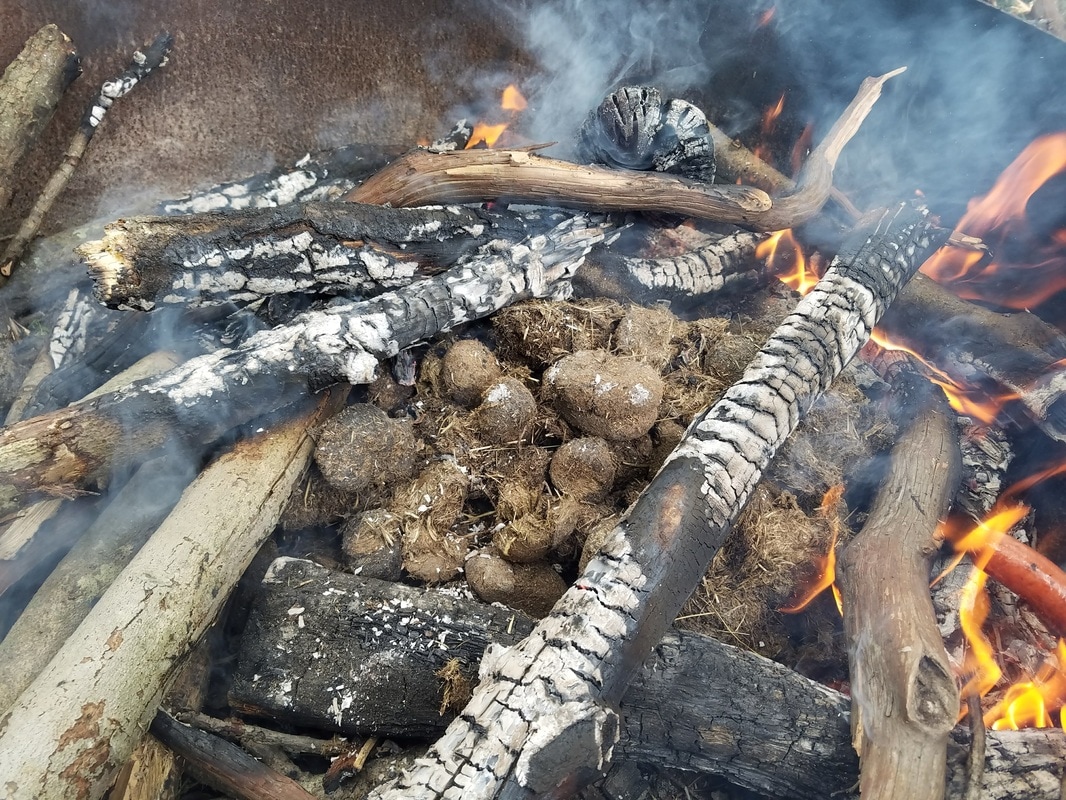
As shown above, the pots had already been brought to a high temperature, unprotected by manure.
A flake popped off the outside of one pot, but otherwise they did fine. At about 3:30 we covered the pots shown in the picture above with a 1 - 2 " layer of dryish horse manure -- enough to hide the pots from view. 3:36 photo Then the burning sticks were placed onto the manure, and the fire was built up with all of our remaining fuel added on. |
|
|
3:45 Photos of the fire at its peak
After loading on the fuel, a student and I each held the corners of a tablecloth and flapped it several times to fan the flames and get it going strong. It was a beautiful fire! Some kids roasted hot dogs, or kielbasa. We left the fire to burn as we played a game in an adjacent field. |
|
|
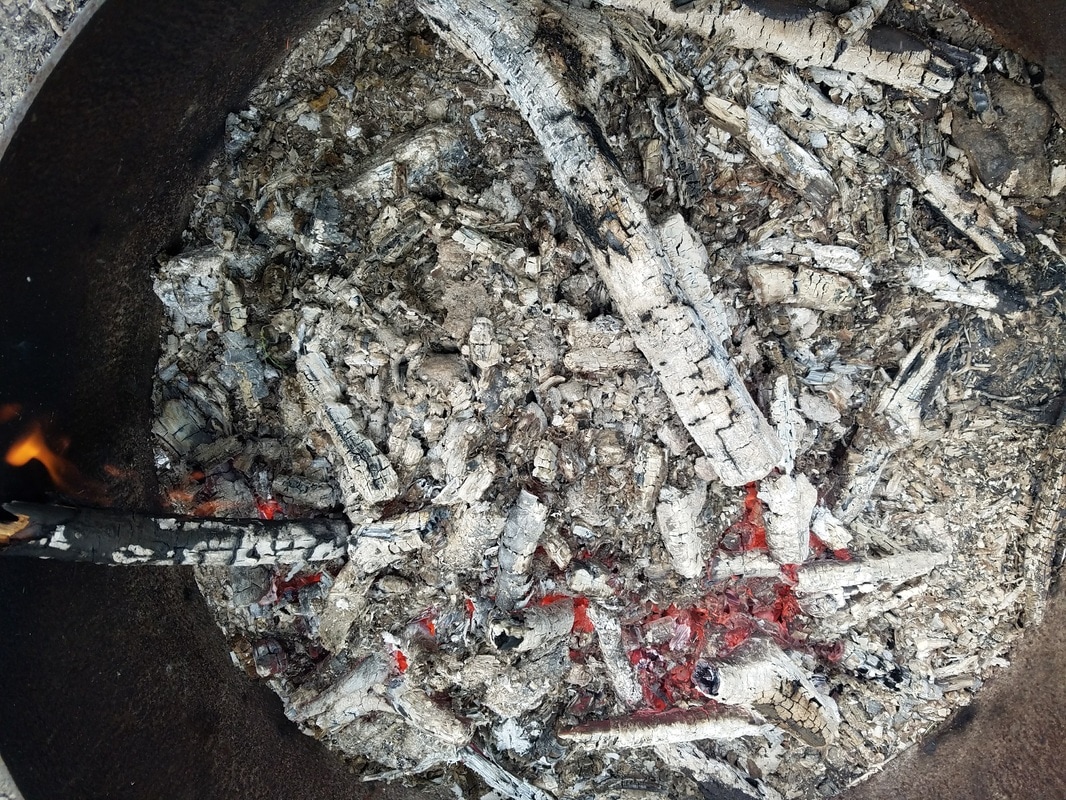
4:21 Photo of ash and embers
The fire has been reduced to ash and embers. Still very hot! The conservative approach is to just let it cool down on its own slowly. But we excavated the pots and applied horsehair, and some doghair, to make black marks on the pots. |
|
|
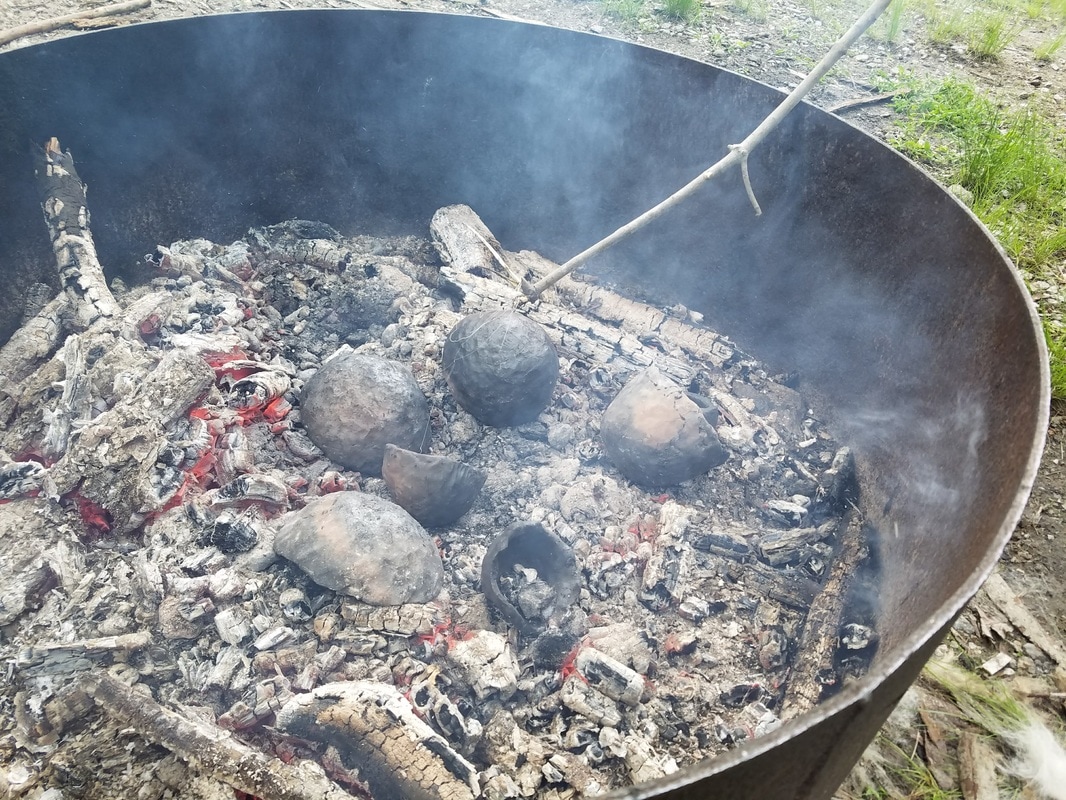
4:27 Horsehair!
If you zoom in and look carefully, you can see the pale horsehairs that are dangling from the bottom of the stick, contrasted against the dark round pot. If the pot is hot enough, hairs or feathers, will burn and leave a smooth black mark/pattern that can look cool. If you zoom in you can see the black squiggle made on the top right pot by a horsehair. |
|
|
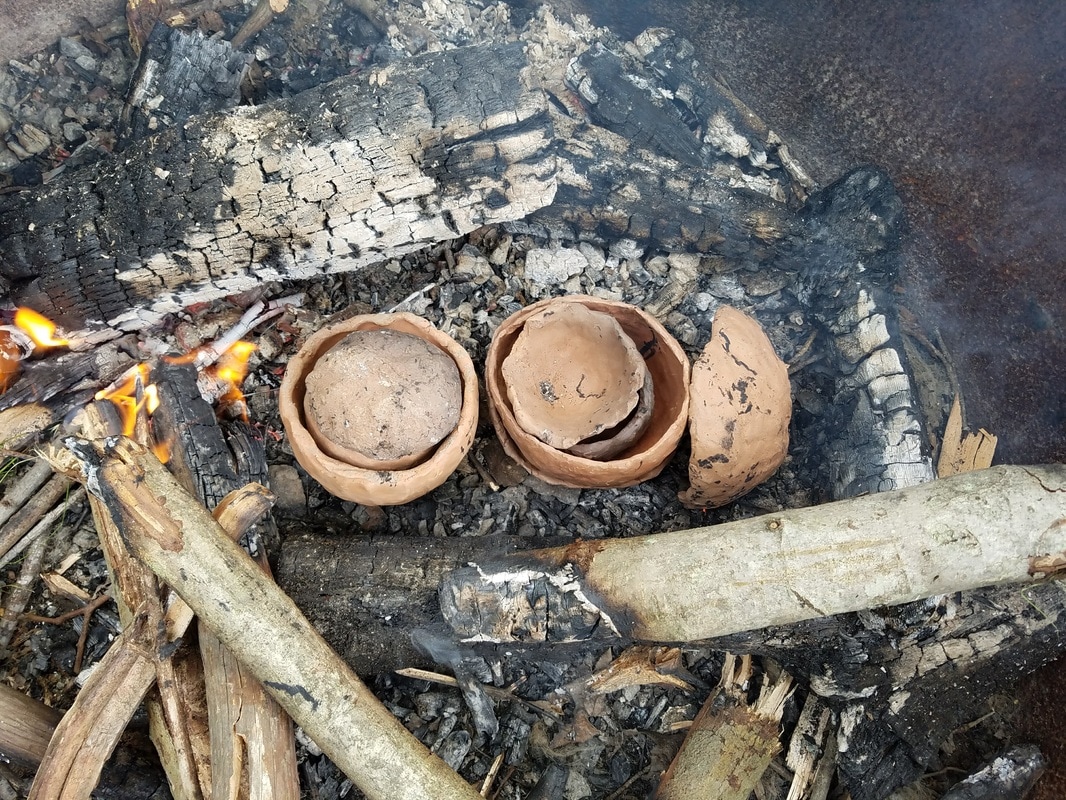
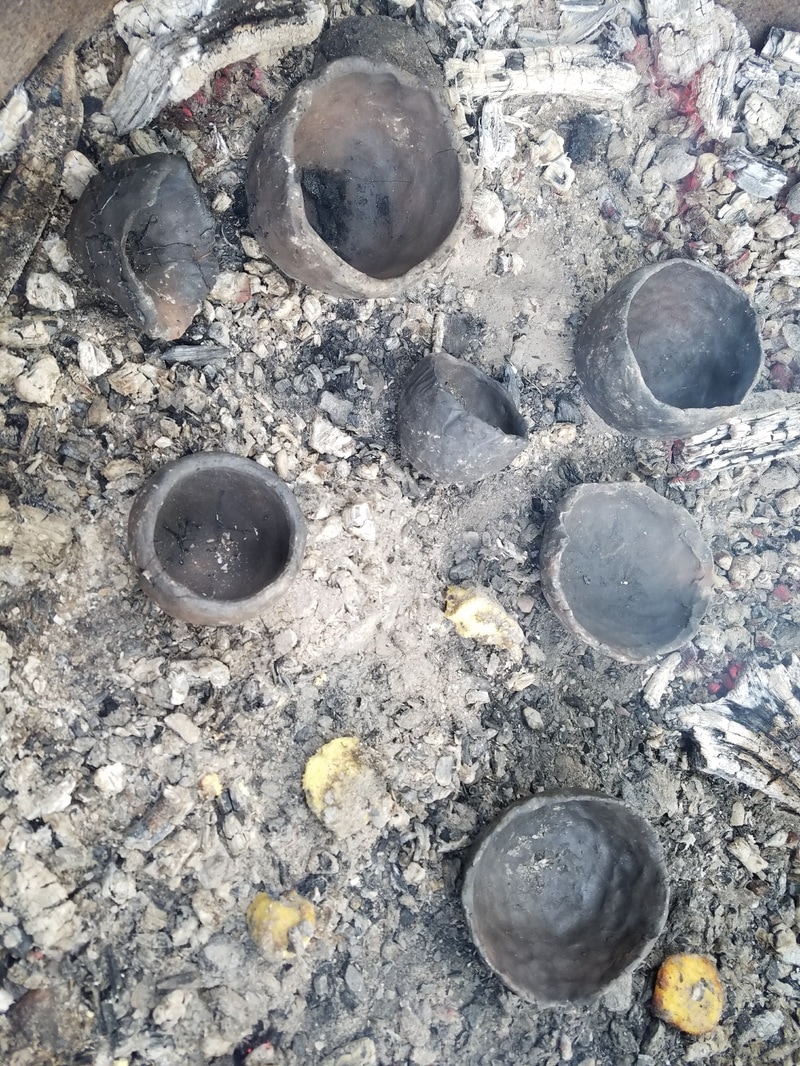
4:41 Photo of pots cooling
These pots are now exposed, but still surrounded by hot coals. The hot coals were gradually scraped away from the pots into a pile on the side, and the pots moved away from them. |
|
|
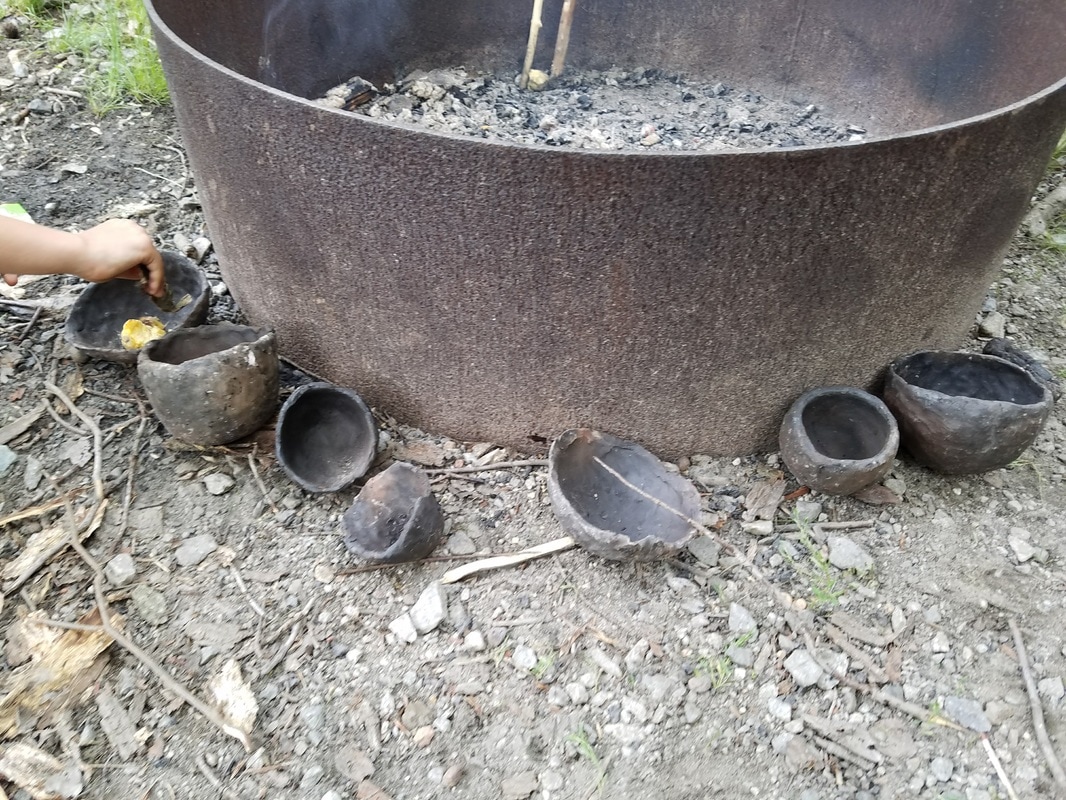
4:46 photo
The pots have been moved out of the pit, to the ground next to the hottest part of the fire pit. We left around 5, and the pots were too hot to hold barehanded, but cool enough to put in a pack or other insulation. |
|
Results
As mentioned previously, only one flake popped off, from athicker part of one pot. This pot had been pre-fired for 2 hours at 150, then wrapped in plastic wrap.
One way to gauge how well a pot fired is to tap it with a stick and listen. A resonant ringing is ideal. Two of the smaller pots that I made had a pretty good ring to them. The other pots sounded more tinny, but had no visible flaws.
One pot cracked into pieces. This one was made from a different clay than the other pots; this clay was very workable, but did not fire well. So if you have bad results, it may just be poor quality clay. It would be interesting to kiln fire this clay though, and see if it gives better results.
By contrast, in other cases, I've found clay that is very goopy and does not hold it's shape (it requires a form) can become very solid and sturdy upon firing. See here on how to use low grade clays like this.
PREFIRING POTS - Explanation
For best chances of success in firing your pot intact, dry it in the oven at 150 - 175+ for a few hours. You can start at a lower temperature, and gradually raise it. The thicker the pot, the longer it should be dried, and the more gradual should the temperature be raised.
A very thin pot is about 5 mm thick. 1 cm is medium. Over 1 cm is thick. These numbers refer to the thickest parts of the pot.
Kiln firing takes place over many hours of gradual heating and gradual cooling. Gradual heating is key because it drives out water molecules trapped within the porous structure of the clay, and also prevents the heat stress caused by sudden temperature changes.
We will be open/pit/primitive firing, which does not raise clay to the high temperatures achieved in a kiln. And I have done so in the past in the space of a few hours, with mixed results, but some successes. Pre-firing in an ovenseems to be helpful, although my sample size is limited at this point.
If clay is heated above boiling point with water molecules still trapped inside, then pieces of the pot will pop off, breaking the pot. The thicker the clay, and the finer the clay particles, the longer it takes for the clay to dry completely. Furthermore, a pot that has been thoroughly dried can soon reabsorb water from the air around it. That is why they should be sealed off from air as soon as they are removed from the pre-firing.
The clay we used most recently is rather fine, and many students' pots are rather thick (as is typical for beginners). Nevertheless, we will try to fire them tomorrow. If pots break... that's part of the learning process!
Primitive fired pots have the practical advantage of superiority for cooking on a fire (less likely to break from heat stress), but the disadvantage of being porous -- they absorb particles of the fluids and foods that they contain and thus are hard to clean conventionally if used for anything other than water.
