Debris-hut survival shelter
|
Download and print this tip sheet!
| ||
Importance of shelter:
- Hypothermia is the leading killer in survival situations – shelter is critical!
- In most survival situations, you will last long enough to get rescued so long as you can procure sufficient shelter.
- Whether you are on the water, on a hike, and even if it’s hot out (!) bring rain gear and survival blankets to keep dry and warm in case things go wrong. An ankle injury or other medical incident, getting lost, or sudden storms can all lead to unanticipated adventures.
- As soon as you realize you are lost, or unable to escape the field, create a shelter strategy.
- Get out of the wind, and look for a place where you can stay dry, and/or find/make insulation.
Practice is key!
- Until you actually build and sleep in some shelters, you won’t know what you don’t know!
- Always have a back-up option to easily get warm in case your practice attempt fails.
- Learn from your experiences – trouble-shoot, experiment and problem-solve!
Shelter site selection:
- Most important – choose an area with lots of (preferably oak) leaves on the ground, and a minimum of obstacles to collection.
- Leaves may be concentrated in drifts behind logs, in low spots, and at the base of steep slopes.
- Look out for widow-makers (dead trees and branches overhead)
- Find a level surface.
- Avoid drainages – where will water go during heavy rains?
- South-facing slopes have more leaves, warmer microclimate.
- Avoid exposure to west and north winds. Use terrain, large logs, rocks, or other barriers to block wind.
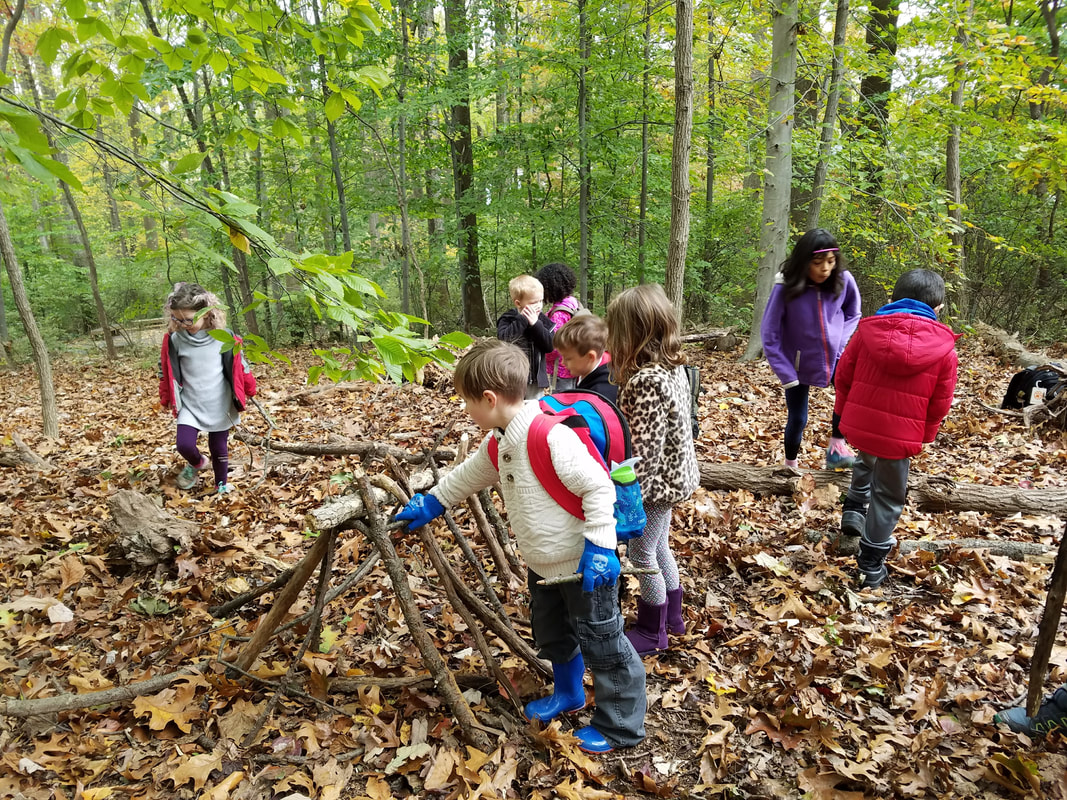
The Ridge Pole
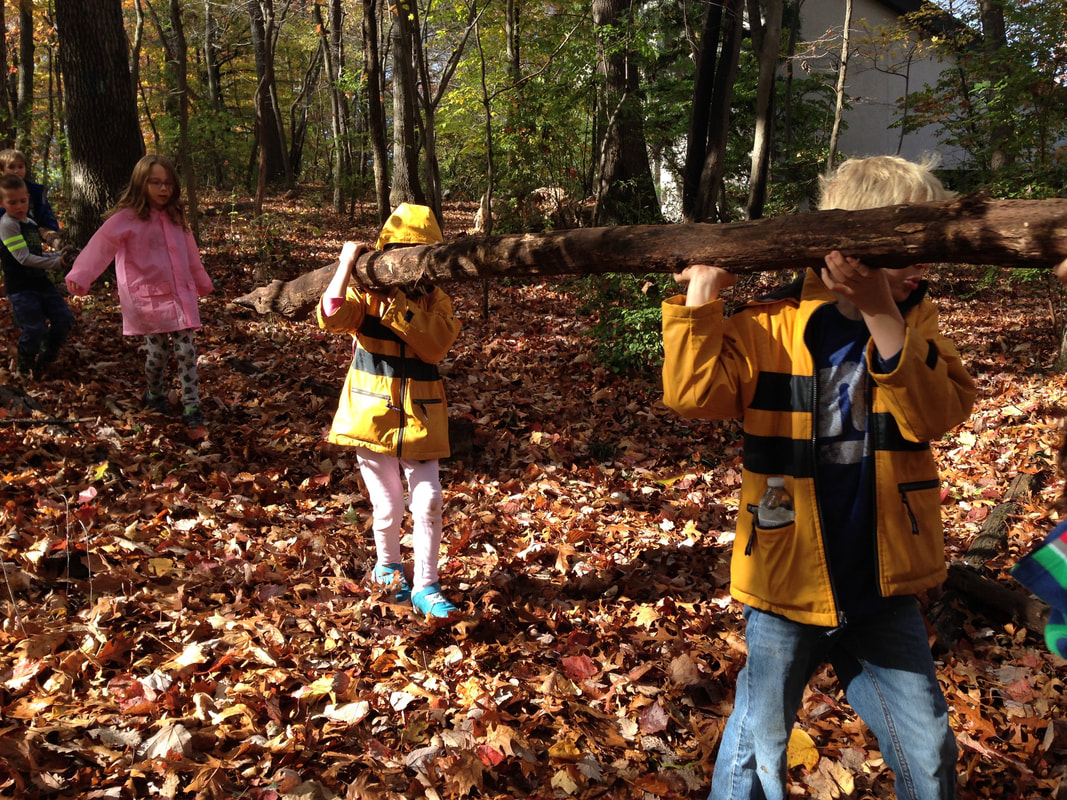
These students carry a ridgepole that is long and sturdy. Better too long and strong than too short or weak.
- Ideally ridgepole is straight and sturdy, 6 to 8 feet longer than you, and remains rigid when weighted from above.
- Use a sturdy fork in a tree to hold branches and break them using leverage.
- Support the ridgepole securely using Y-sticks or an elevated fallen log, etc.
Notice how the bottom end of this ridgepole is elevated on a stump. With a relatively short ridgepole in particular, this can be important to do, but is tricky to do so in a way that the pole cannot easily slide off its perch. With a long ridgepole this is not generally needed, unless the front end cannot be raised high enough.
Stability matters

A student lies under a ridgepole supported by 2 Y-sticks (one is thinner than recommended). Notice the base of the ridgepole is against a tree, so it cannot slip backward. Alternately: have the base lodged into the dirt. We've outlined a distance of 2 feet away from his body, which is how thick our leaf layer should be.
- Ridge pole should not slide forward or back easily. Push test.
- Entrance supports (usually Y-sticks) of ridge pole are stable, should not slide out.
- Ridgepole strong enough to hold your weight if you stand on it, with one end supported. (Ideally!)
Bedding
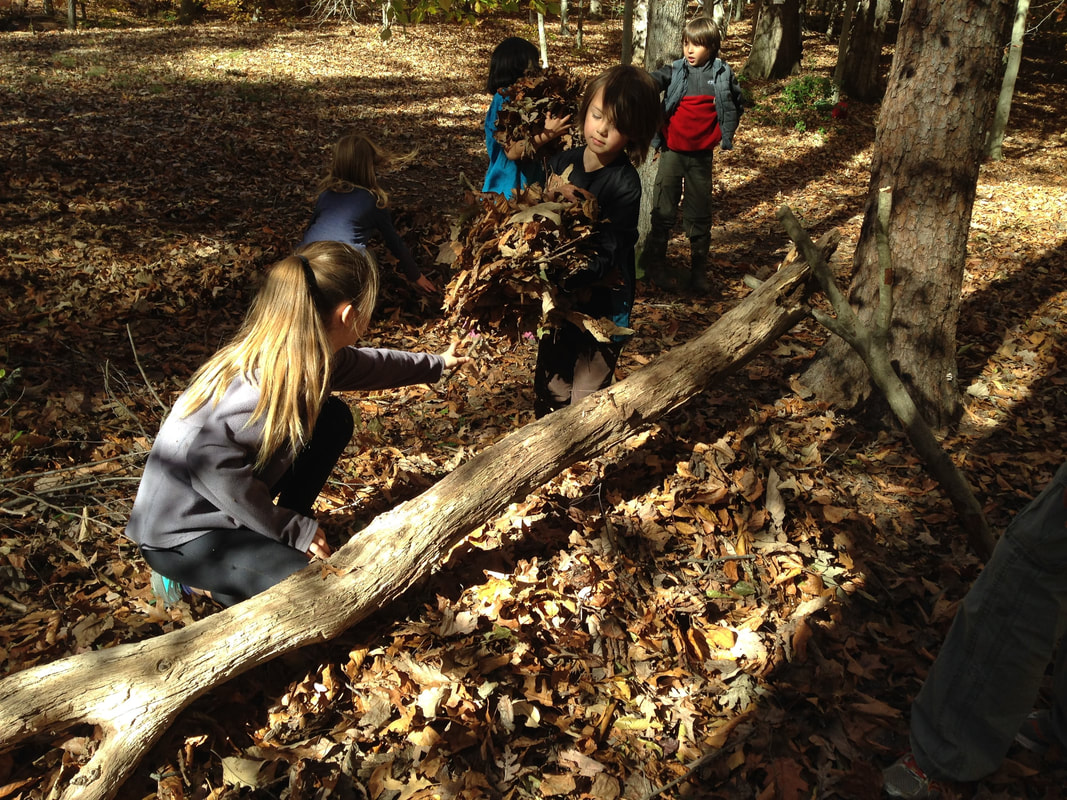
Having first placed a layer of dry sticks, students now add a thick layer of leaves to make a comfortable bed.
- 1 – 2 inch layer of dry wood against the ground as a base layer.
- 3 or more inches of compressed leaves are on the bed. This may begin as a 2-foot thick layer of uncompressed leaves. Lay down on them to compress them. Or place a log ‘dummy’ on them.
Inside of shelter
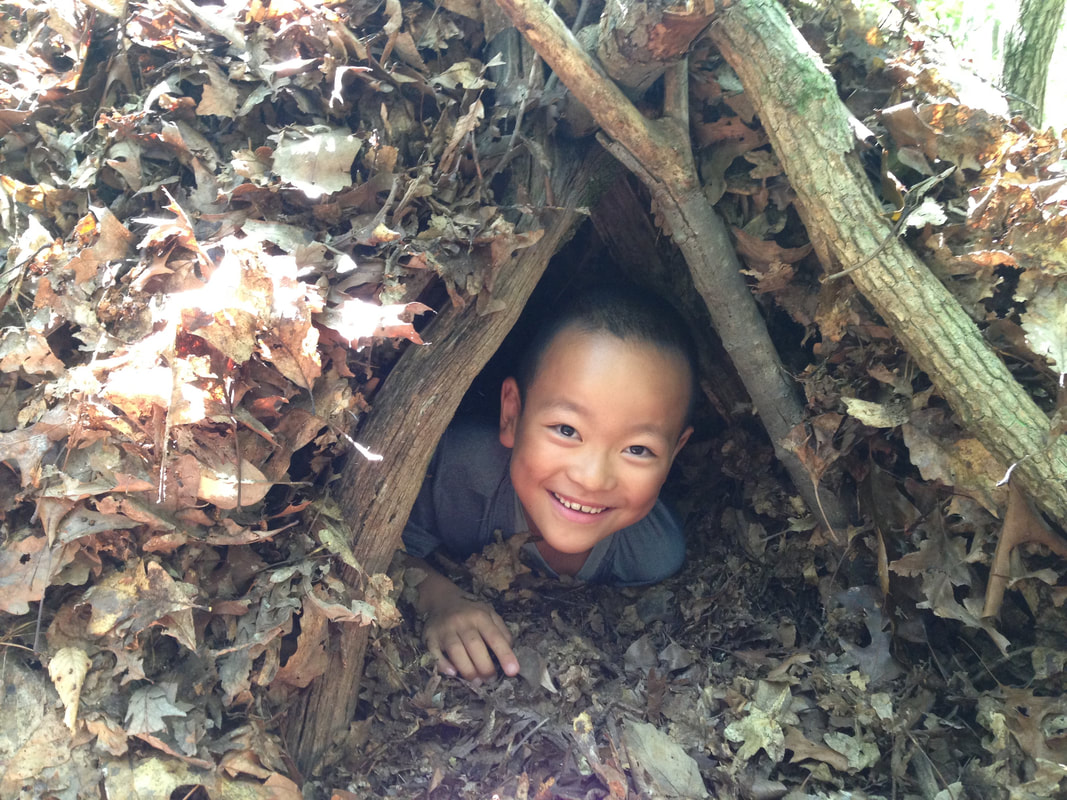
The inside of this shelter is a little too spacious, the student should not be able to raise his head so easily, or have so much air space around his body.
- The inside of the shelter is so small you can barely wriggle into it.
- With substantial effort - you CAN wriggle into your shelter.
- If it’s wet or snowy, try to line the inner cavity with dry wood (sometimes found in standing-dead, rotten trees), or dry twigs and leaves (from under big logs, etc.). Snow and wet leaves can insulate your shelter, but you don’t want them touching you, conducting your heat away.
Ribs of shelter
Students lean ribs against the ridgepole. Notice the tops of the ribs do not extend more than a few inches above the pole, and the bases are next to each other.
- The ribs of your shelter form an even, shallow layer.
- The ribs, on average, are strong enough to support the weight of heavy wet leaves. (1/2 to 2 inches thick, not too rotten)
- Gaps between ribs are 2 inches or less.
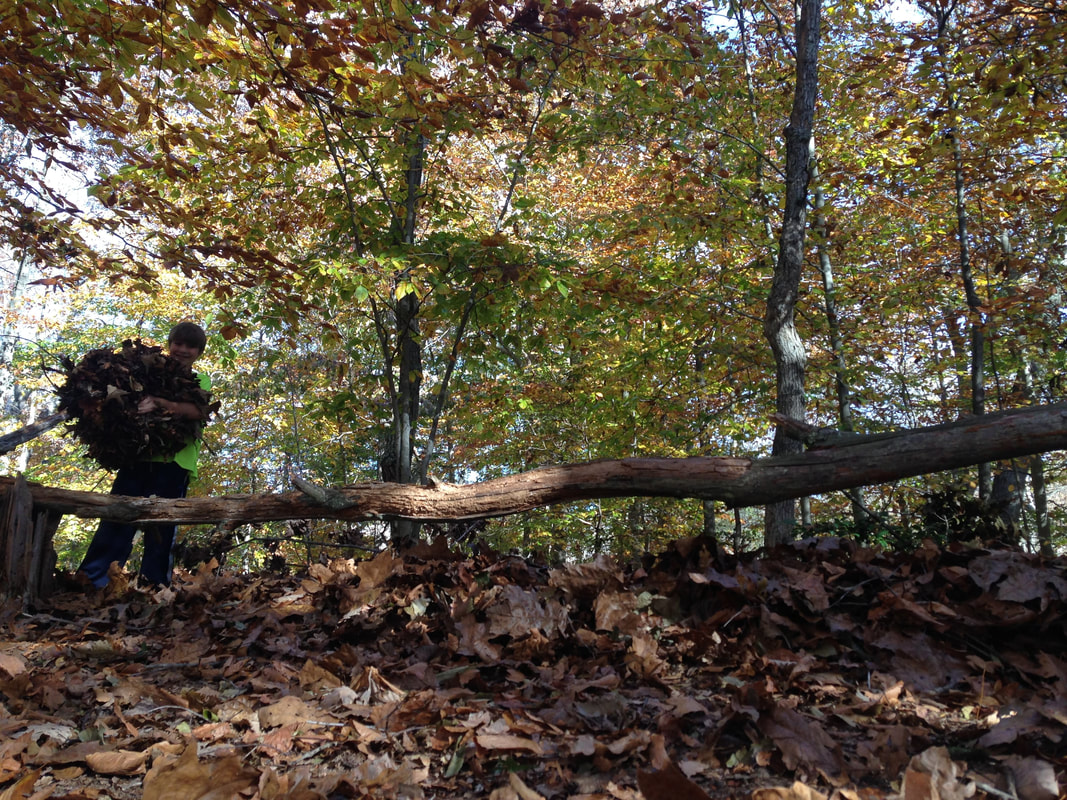
Efficient leaf collection
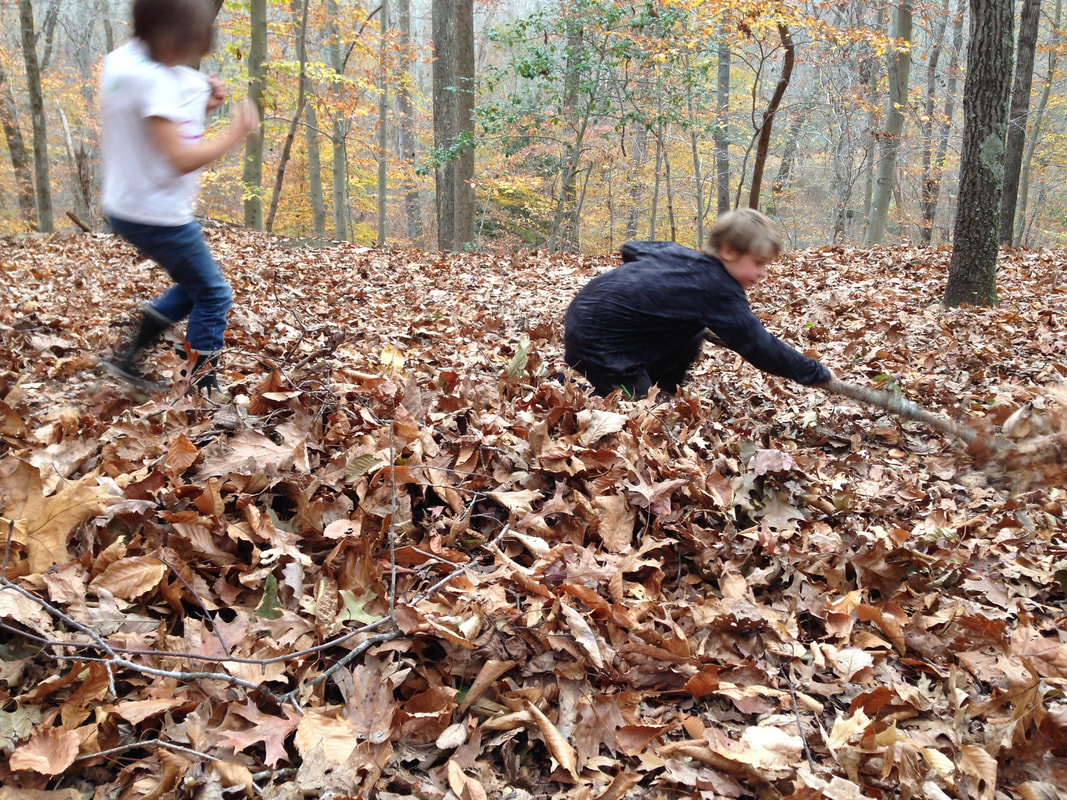
This student is demonstrating good leaf collecting technique. Notice he has a knee on the ground, and is using a long, sturdy stick to sweep the leaves.
- The effectiveness of your shelter depends on having TONS of leaves, so good collection technique is CRITICAL.
- With a long, sturdy (but not too heavy!) stick, you can kneel and use body rotation to sweep the stick across the ground.
- Using hands to rake leaves will damage your hands!
- Sweep leaves into large piles for 10 - 30 minutes, than carry back the largest piles you can carry.
Leaf layer thickness
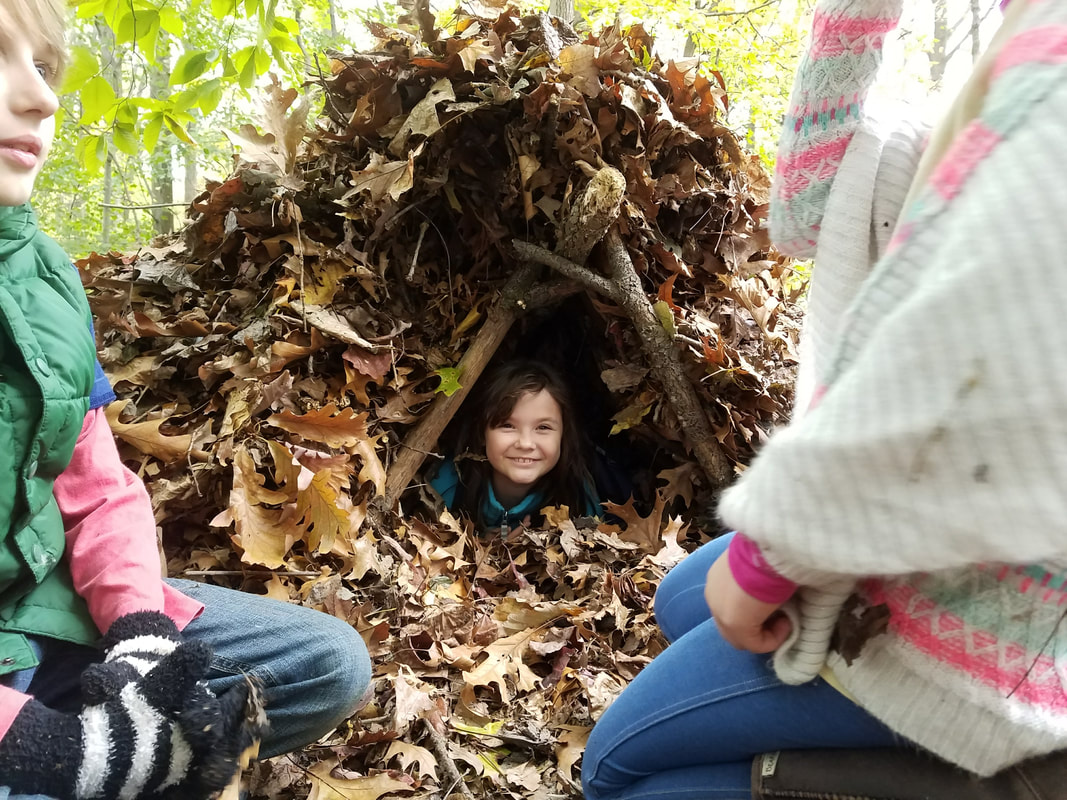
The leaves are about 1 - 2 feet thick on this shelter. About the bear minimum to stay dry, or mostly so.
- Leaves on top of shelter, above body, are at least 1.5 feet thick (minimum to keep you dry – assuming a somewhat dense layer of leaves).
- Leaf layer is 2 feet in every direction from the surface of your body, warm to 40 - 50 degrees.
- 3 feet thick for temperatures down to 35 – 25.
- 4 feet thick for temperatures down to 20.
